Microsoft Windows installation (64-bit)
Manual installation
This document describes how to manually install IBM Storage Protect Backup-Archive Client on Windows (64-bit).
Required files:
- IBM Storage Protect Backup-Archive Client
- SafeDC Default Configuration file dsm.opt (Right-click and Save)
- Certificate installation script (Right-click and Save)
Installation and Configuration
Installation of the software
- Download the required files according to above into a temporary folder.
- Run
8.x.x.x-TIV-TSMBAC-WinX64.exeto extract all installation files. -
Open the
TSMClientInstallation directory that just got created and runspinstall.exeand accept the UAC pop-up that comes up, "Setup Launcher Unicode".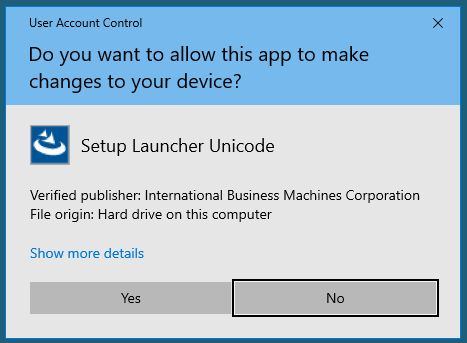 Follow the instructions on the screen,
and if this is a new installation,
you maybe need to install a few requirements.
Follow the instructions on the screen,
and if this is a new installation,
you maybe need to install a few requirements.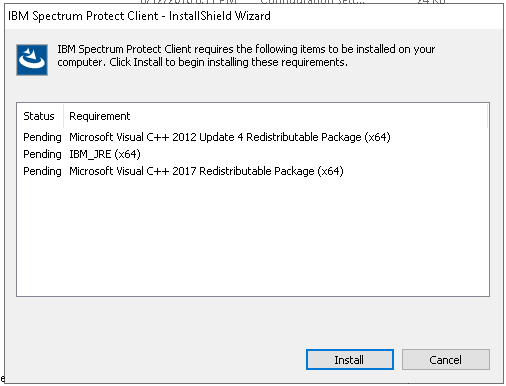
- The installation process could sometimes require a reboot, due to the installation of a couple of VC redistributables.
- If a reboot is unpleasant, at the above decision point, jump to the "Circumvent reboot during install" section below.
- Resume the installation, choose Typical installation.
- After installation, answer 'No' to the reboot question.
Create Configuration File
- Retrieve client node configuration and password from the Safespring Backup Portal, and edit the
dsm.opt.sample, copy the Setup Information from the portal and paste it in todsm.opt.samplefile and save that file inC:\Program Files\Tivoli\TSM\baclient.
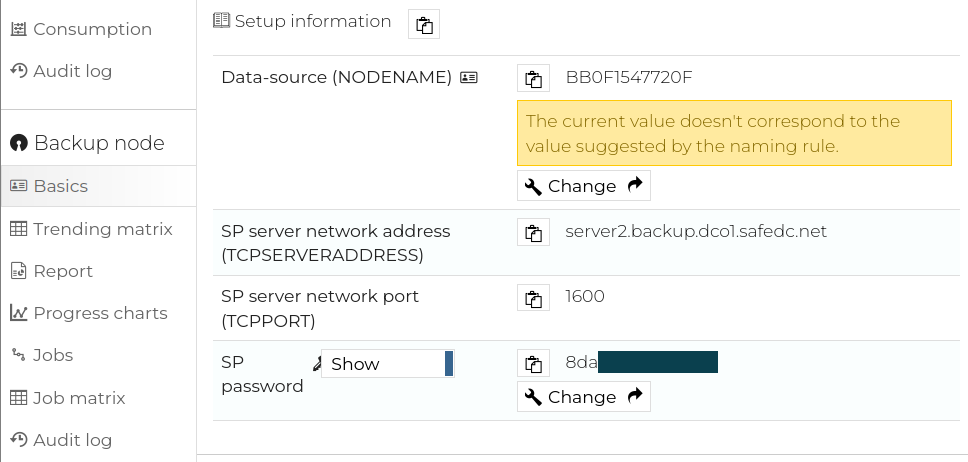
Paste the information to the dsm.opt.sample file between the *** Copy and Paste Information from Safespring Backup Portal *** sections.
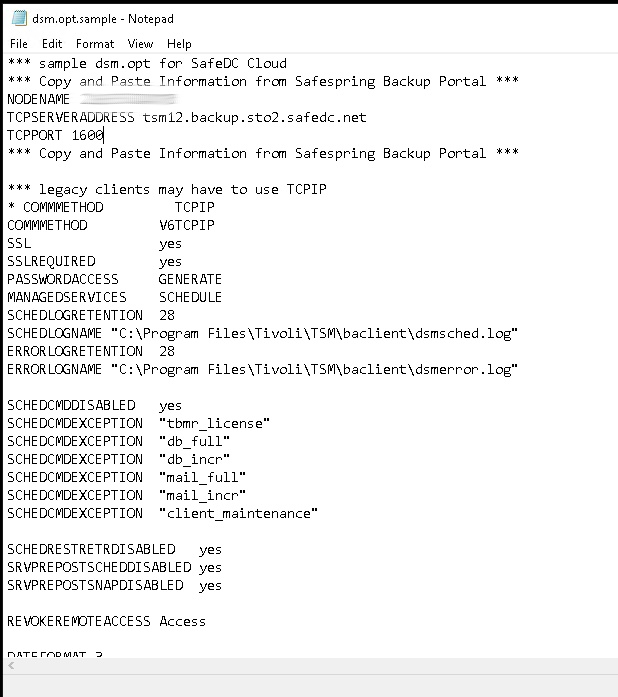
Save the file as dsm.opt in the Backup-Archive Directory e.g C:\Program Files\Tivoli\TSM\Baclient\dsm.opt.
Install the certificate
Run the SafeDC-Net-Root-CA-win64.bat script as admin. It will remove all previous certificates and install the correct CA Root for the BaaS service into the IBM cert store. TSM/IBM will not use, nor touch the system certificate stores in any way. This is safe to run several times, it will just remove and reinstall the same CA Root certificate every time.
First connection
-
Test the connection, the easiest way is either via GUI or CLI.
- Login via Command-Line
Start a Command-Line window in Administrator Mode and change to the Backup-Archive Client directory e.g.,
cd C:\Program
   Files\Tivoli\TSM\Baclient
Start thedsmc.exeand it will now ask you to confirm the User ID that is the same as your node name, and copy and paste the password from the Safespring Backup Portal 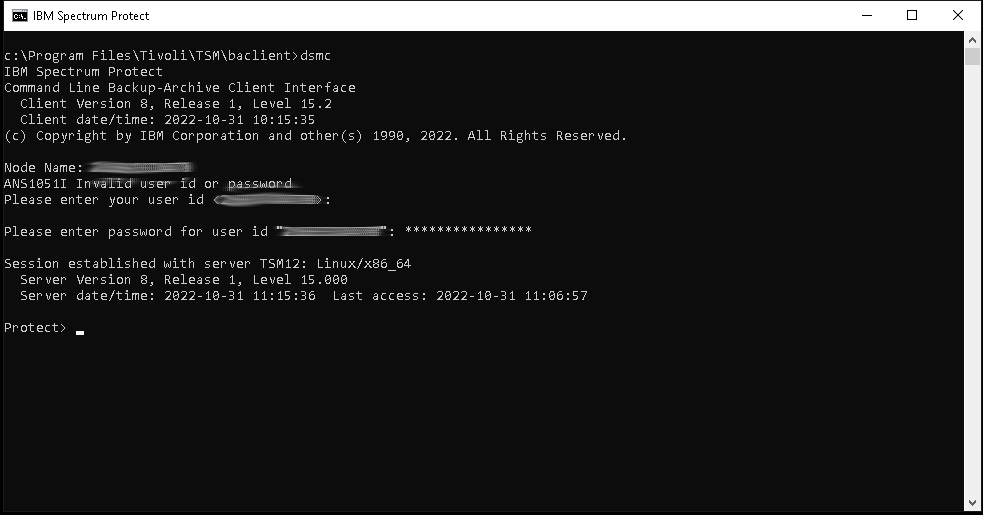
Run
quitto exit Storage Protect Backup-Archive Client CLI.- Login via GUI
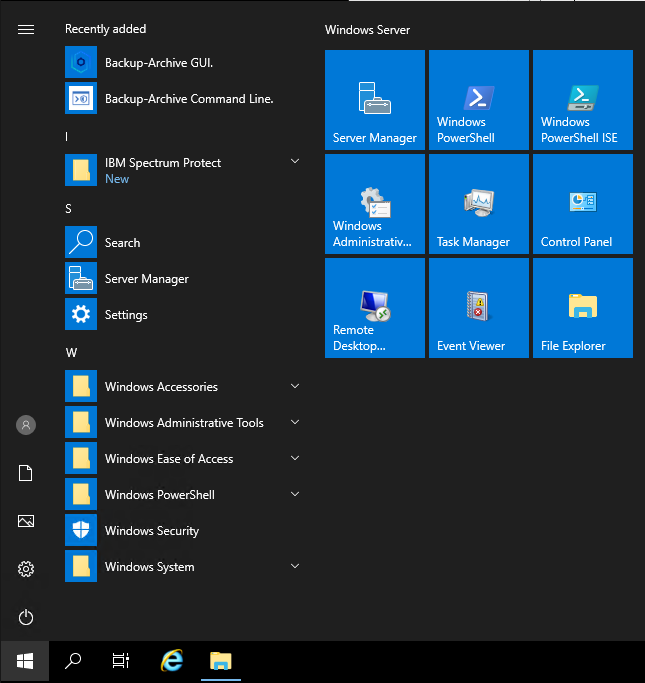
The GUI icon can be found in the start-menu, search for "Backup-Archive GUI".
When the Backup-Archive GUI starts, it will ask for Node Admin ID and Password. These can be copied and pasted from the Safespring Backup Portal.
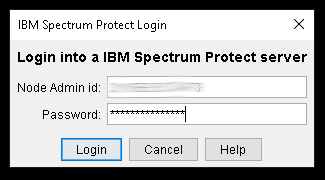
If the application starts, it has logged in successfully, and will save the password (encrypted) for future use.
Schedule Daily Backups
- IBM Storage Protect Backup-Archive Client is polling the backup server
regularly to see when it should back up your data next time.
To assign a predefined schedule, open Safespring Backup Portal
and go to the consumption unit you want to define a schedule too and
click on schedule.
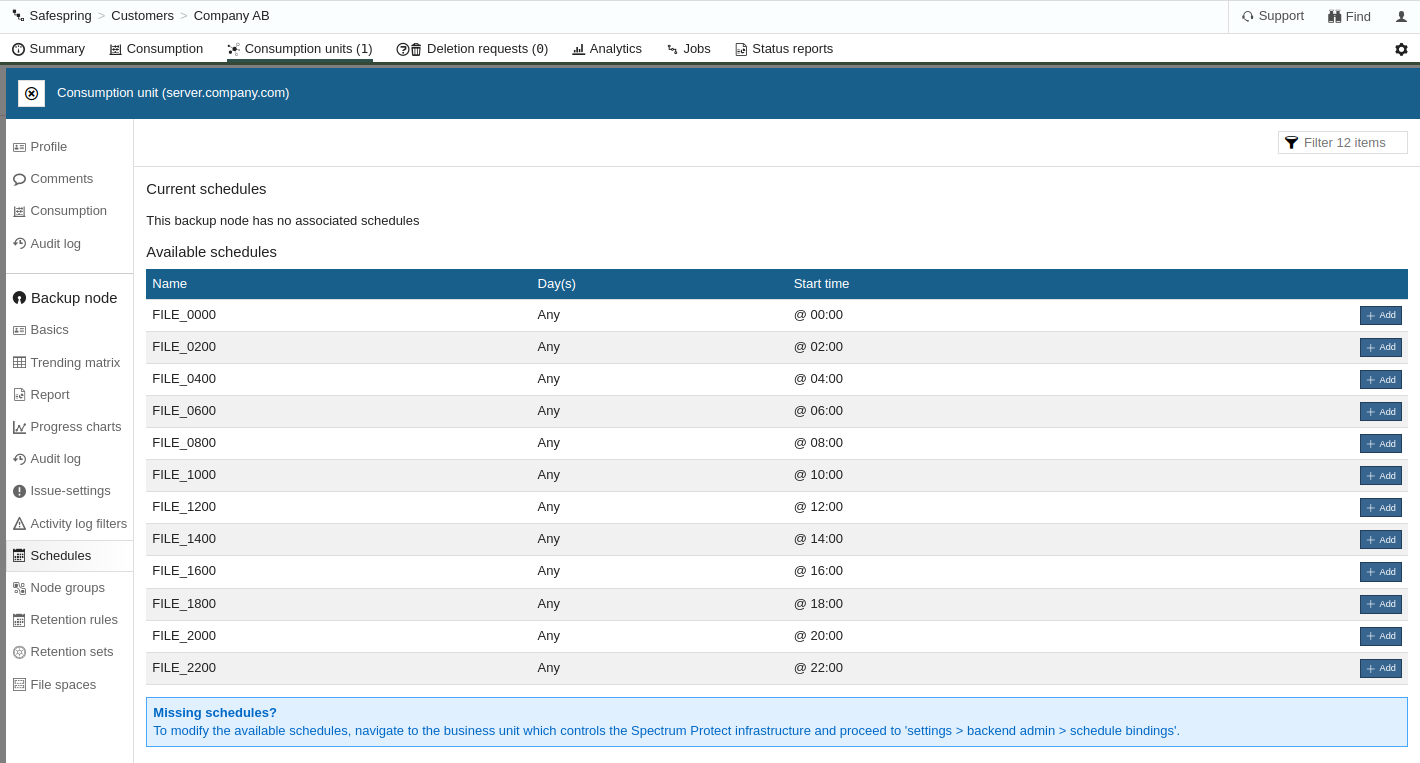
Here can you schedule the backup for your consumption unit. -
Set up the IBM Storage Protect Backup-Archive Client schedule polling.
There are two ways to do it, either via command line, or the GUI. You may pick the method that you're the most comfortable with.
Setup schedule via Command-LineStart a Command-Line window in Administrator Mode and change to the Backup-Archive Client directory e.g
cd C:\Program Files\Tivoli\TSM\Baclient. Run the following commands to set up your schedule.Setup schedule via GUIdsmcutil install scheduler /name:"TSM Client Scheduler" /node:<NODENAME> /optfile:"<PATH TO DSM.OPT>" /password:<TSM PASSWORD> /autostart:no /startnow:no dsmcutil install cad /name:"TSM Client Acceptor" /node:<NODENAME> /password:<TSM PASSWORD> /optfile:"<PATH TO DSM.OPT>" /autostart:yes /startnow:no dsmcutil update cad /name:"TSM Client Acceptor" /cadschedname:"TSM Client Scheduler" net start "TSM Client Acceptor"
The GUI icon can you find in the start-menu, search for Backup-Archive GUI.
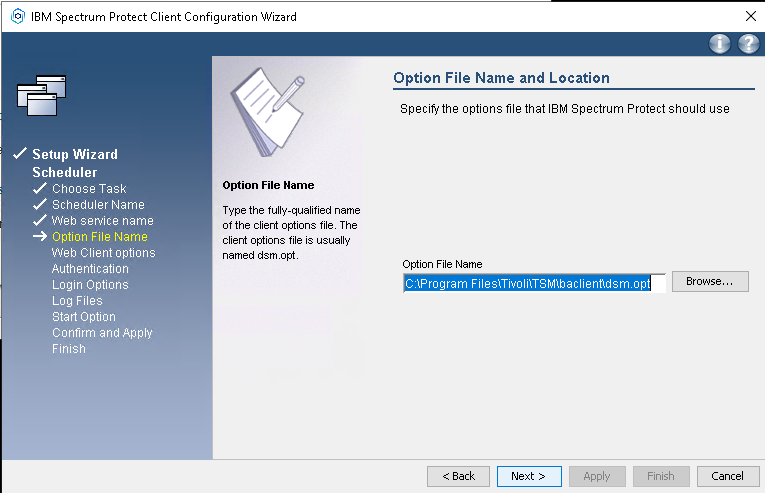
Click on Utilities → Setup Wizard to start the Configuration Wizard.
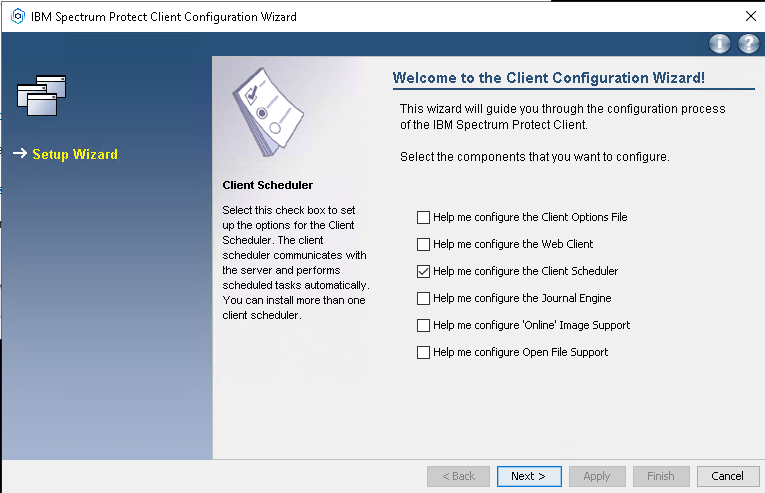
A wizard will help you to go through the process step-by-step of setting up the schedule.
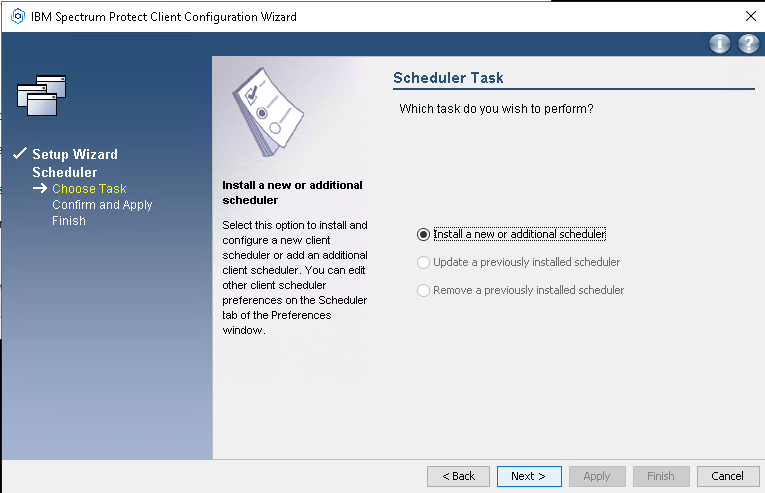
Confirm that you want to Install a new or additional scheduler, if Update ... and Remove ... is enabled, that means you already have an earlier Storage Protect Schedule configured.
Make sure you enable [X] Use the client acceptor to manage the scheduler.
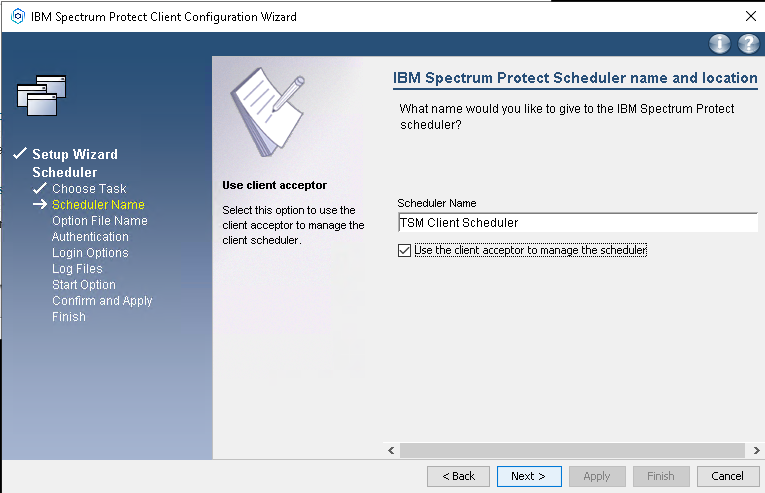
Confirm the name of the TSM Client Acceptor and press Next.
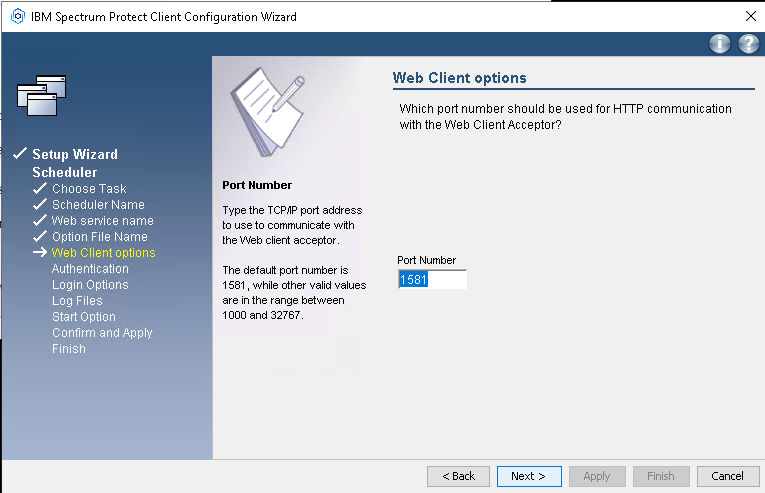
Confirm the Client Acceptor TCP Port, this port doesn't need to be exposed externally.
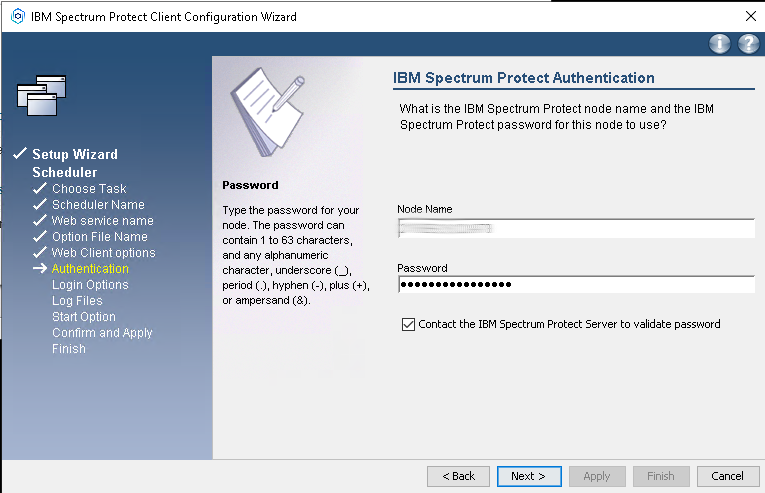
Insert the node password, the password can be copied from the Safespring Backup Portal.
Click on (o) Automatic when Windows boots to automatic start the TSM Client Acceptor Services.

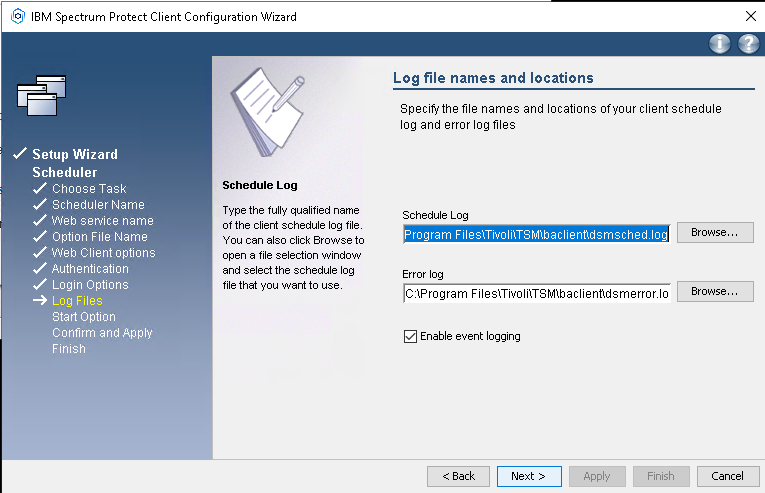
Confirm the location where you want to save the TSM Schedule and Error Logs, and if you want to log to Windows Event Logger.
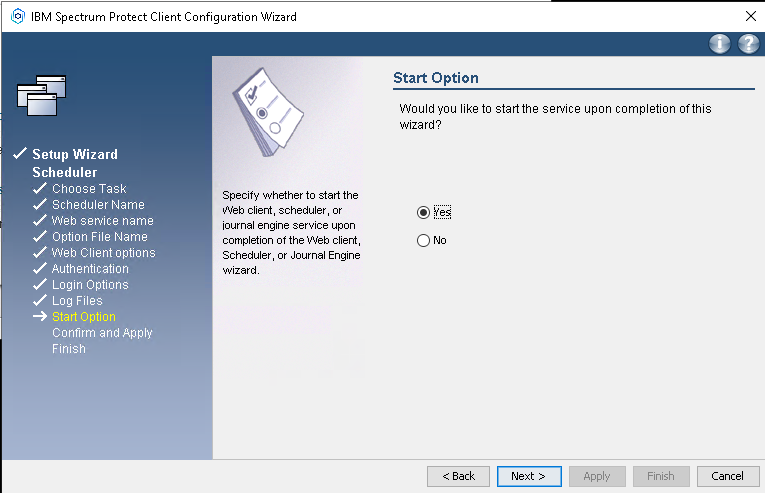
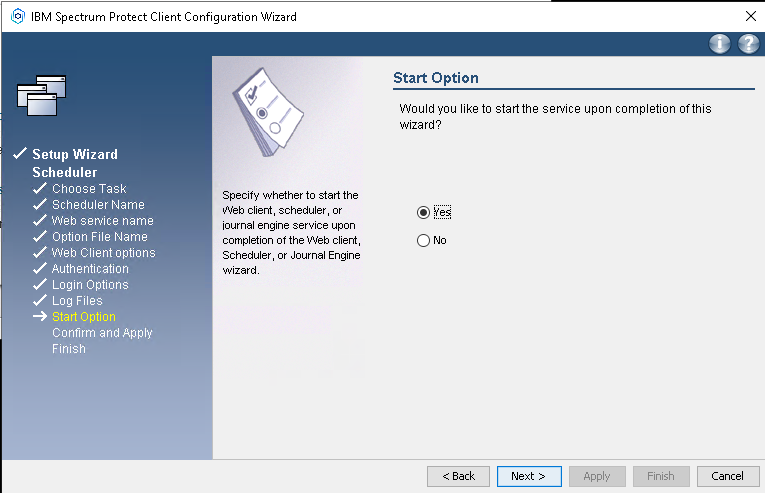
Click on (o) Yes to start the TSM Client Acceptor when the wizard is done.
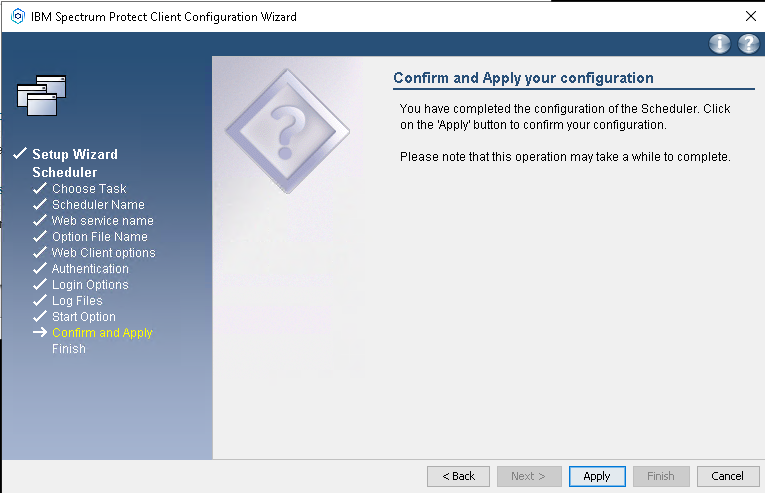
Confirm the configuration before the Setup Wizard creates the services.
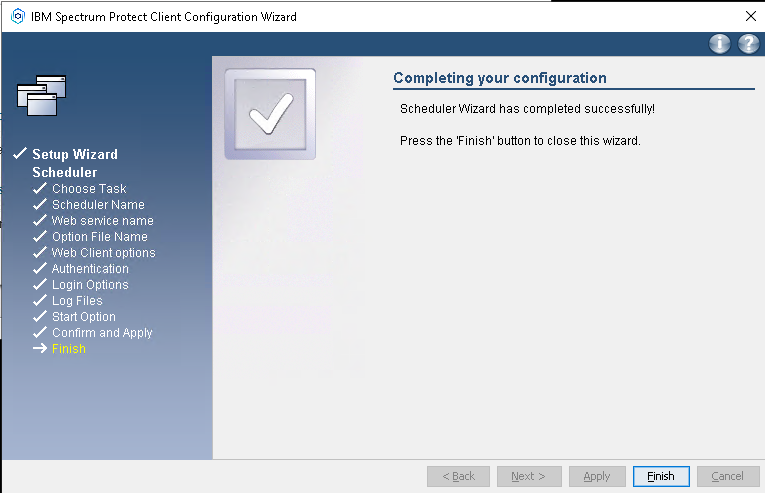
The Configuration is now done, click Finish to quit the wizard.
Finish
Basic installation of the Backup-Archive Client is now done. If you need to set up an Online agent for e.g., Microsoft SQL, Oracle Database or any other application, you can continue with that installation.