Network service
In order to be able to connect to the internet with you instances (and make it possible to reach your instances on their floating IPs) there are a small number of things you need to do first:
- Create a router with an external gateway to the
public_v4network - Create a network to which your instances will connect
- Connect the network to the router
- Attach the instances you create to the new network
In most cases you only need to do this once since your instances can share the same network.
Create a router
First head to Network -> Routers in the navigation menu:
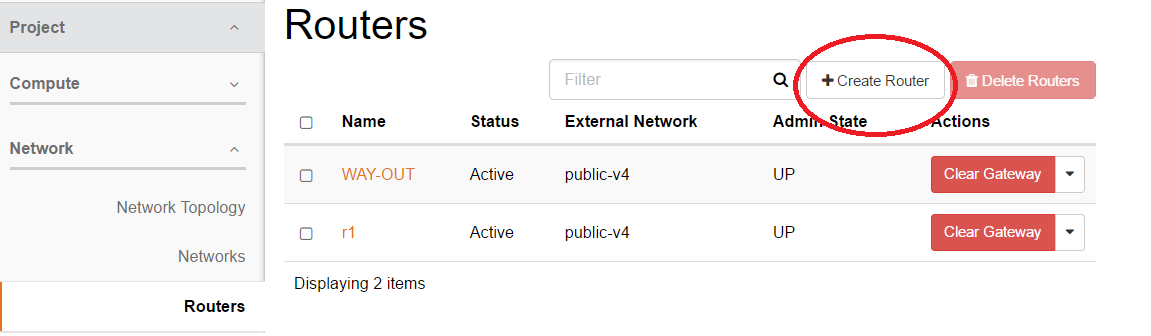
Click Create Router and you will be presented with the following dialogue:
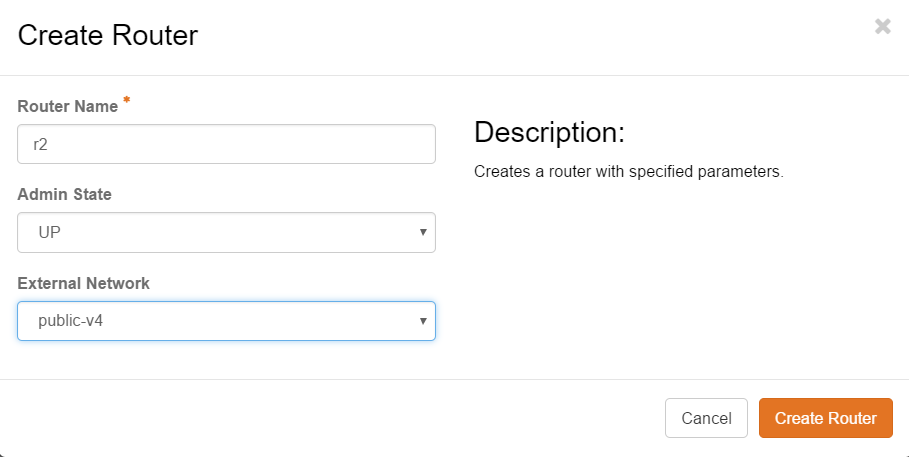
Name your router anything unique and make sure to pick Public_v4 under the External Network drop-down. Click Create Router.
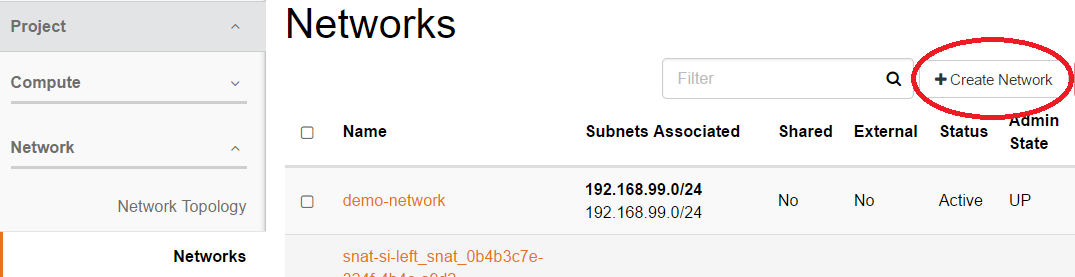
Create a network
Navigate to Network -> Networks in the navigation menu and click Create Network.
You will be presented with the following dialogue.
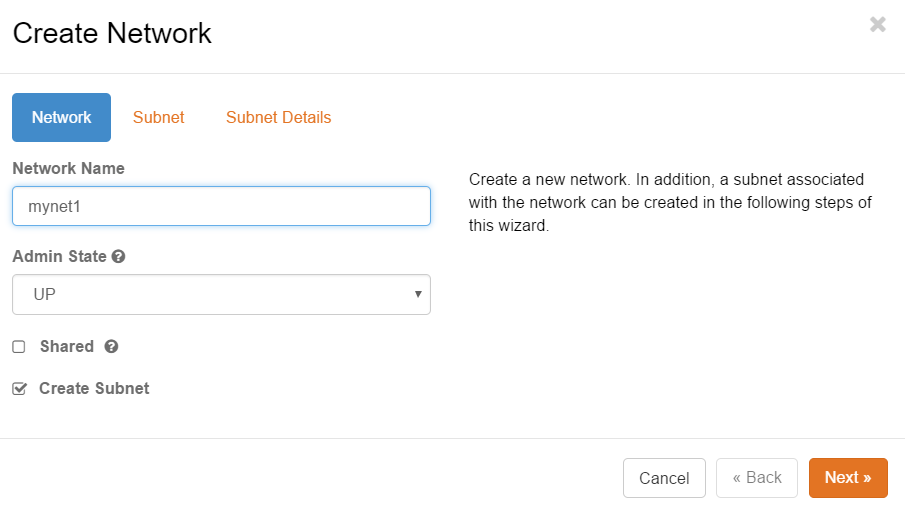
Name your network anything unique and press Next. You will now instead be presented with the Create Subnet dialogue. This is where you pick which IP-network that you be configured on you network:
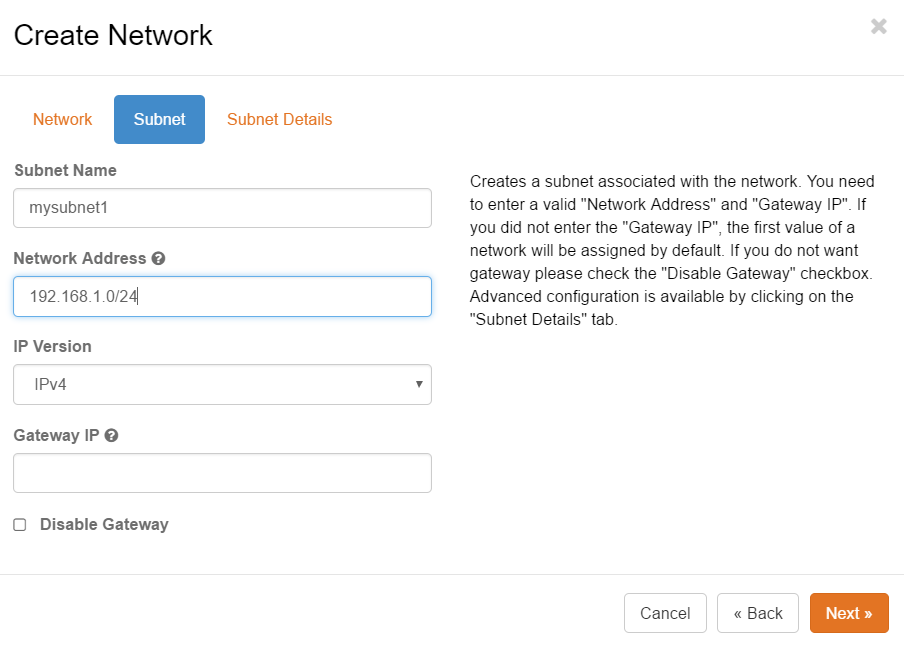
Just pick a private network which is not taken in your project and provide the netmask with the slash-notation. Click Next.
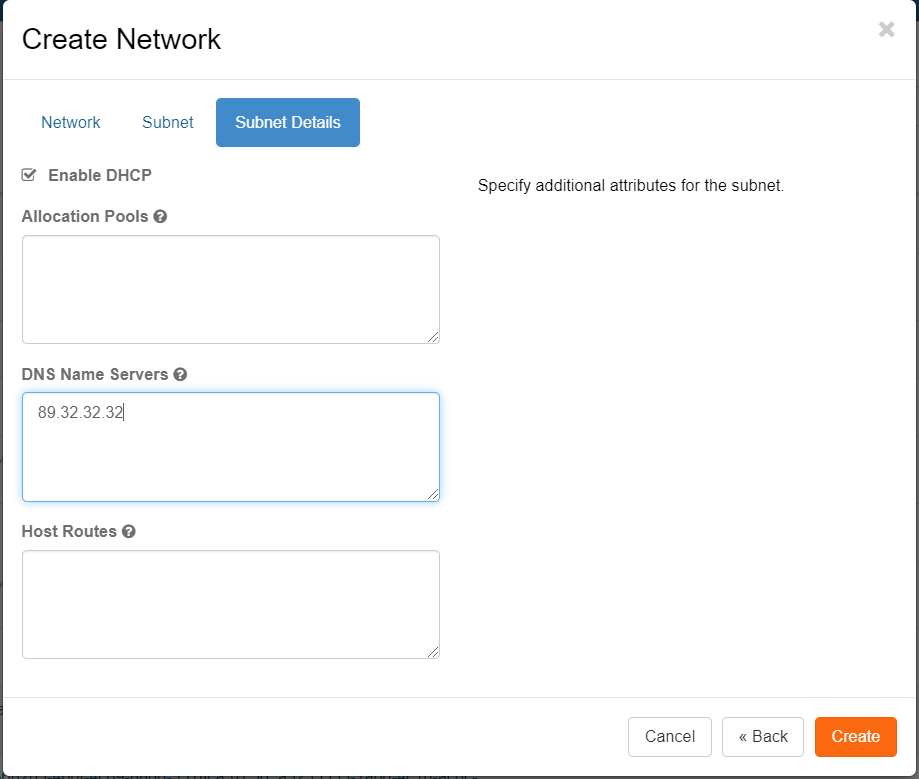
The next dialogue will present you with some optional settings. Since the internal DNS resolver has shown to be slow at times it is highly recommended to provide an external resolver. Use 89.32.32.32 which is SUNETs resolver. Click Create.
Connect the network to your router
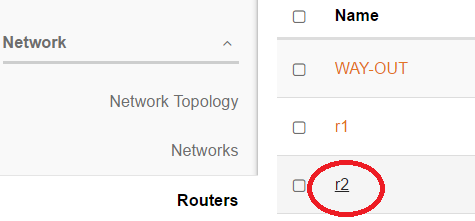
Navigate to Network->Routers again and click the title of you router:
You will be presented with the following:
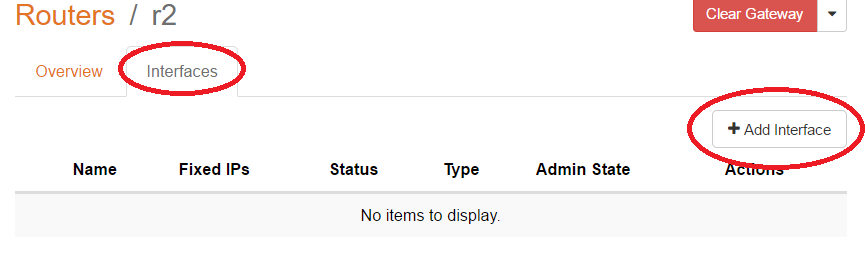
Click the "Interface" tab and the "Add Interface":
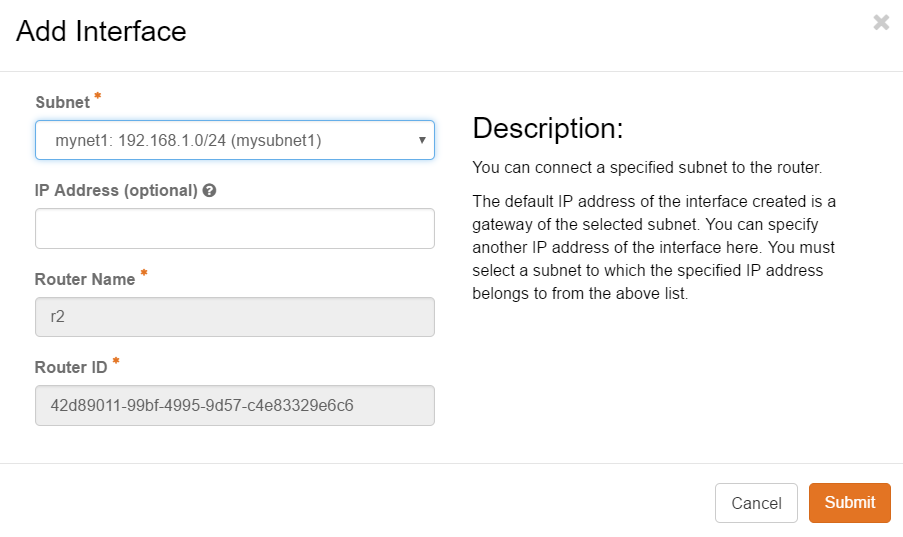
Pick the subnet you created earlier in the drop-down box. If you leave the "IP Address" field empty the router will get the first address in the network (which is probably what you want). Click "Submit".
You now have created a router and a network to which you can attach your instances for network connectivity.
Attach instances to your network
Go to Compute->Instances and click "Launch Instance". Under "Networks" make sure you pick the network you created. If you launch the instance and attach a floating IP and Go to Compute->Instances and click "Launch Instance". Under "Networks" make sure you pick the network you created. Make sure to set up keypairs correctly. If you launch the instance and set up security groups and floating IP as described in here you should now be able to connect to you instance.