Safespring Storage as backend for Veritas Backup Exec
Veritas Backup Exec supports S3 as a cloud drive which can be used to backup servers to. Since Safespring Storage is S3-compatible it can be used as S3 backend to Backup Exec.
Safespring Storage does not come as a preset to Backup Exec why some configuration and changes are needed to get it to work. These instructions have been tested on Backup Exec 20.
Setting up a cloud provider
Before we can use the Backup Exec GUI to set up a cloud drive we will have to configure a provider that works with Safespring storage. This has to be done with the Backup Exec Command Line-tool.
Once you have started the tool, type the following to add Safespring as your service provider:
New-BECloudInstance -Name "Safespring" -Provider "rhceph" -ServiceHost "s3.sto1.safedc.net" -SslMode "Full" -HttpsPort 443 -UrlStyle "Path" -Endpoint ""
New-BECloudInstance -Name "Safespring" -Provider "rhceph" -ServiceHost "s3.osl2.safedc.net" -SslMode "Full" -HttpsPort 443 -UrlStyle "Path" -Endpoint ""
The command returns a definition of your newly added provider. If you would like to start over you can use the following command to remove the provider:
Remove-BECloudInstance
input[0]: safespring
input[1]: <hit return>
Replace the cert store that comes with Backup Exec
Backup Exec uses Curl as HTTP-client to communicate to a S3 provider. The cert-store file that comes with Backup Exec is outdated which makes connections to Safespring Storage impossible. To remedy this one must replace the cert-store file with the official file from Curls webpage.
Download the file from http://curl.haxx.se/ca/cacert.pem
Replace the file C:\Program Files\Veritas\Backup Exec\cacert.pem with the downloaded file.
Configure a cloud drive
Now it is time to configure the cloud drive.
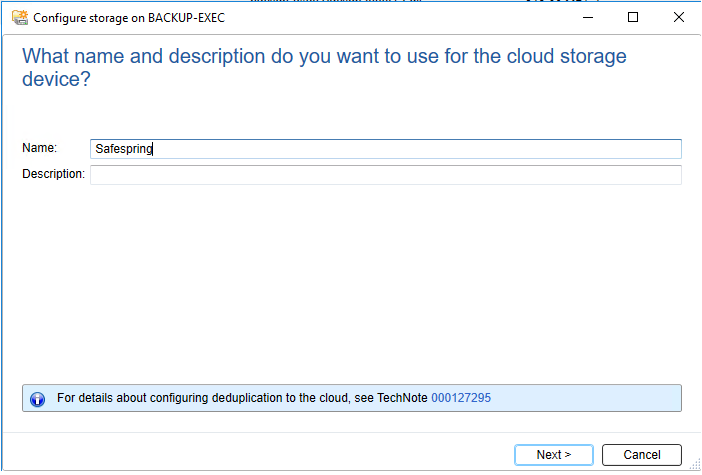
1. Name your cloud storage
Go to the Backup Exec GUI and click the Storage-tab. Click "Configure Cloud Storage" and you will be presented with a dialogue. Name the cloud storage to something (in this case Safespring). Press "Next":
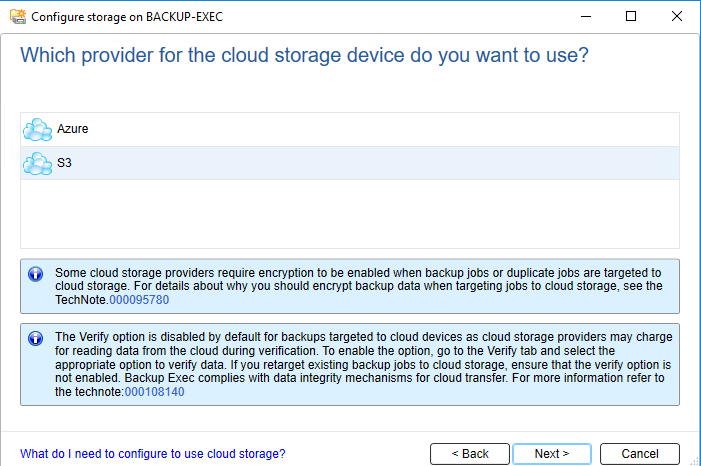
3. Pick S3
4. Pick Safespring [rhceph]
In this dialogue you should pick the option in the first dropdown and the account to use in the second.
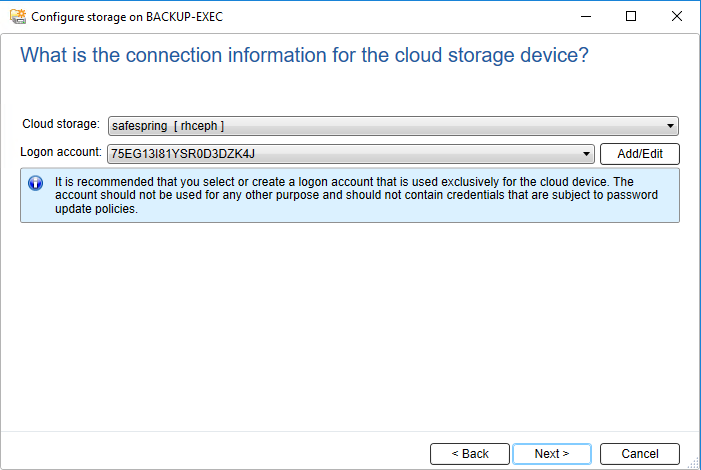
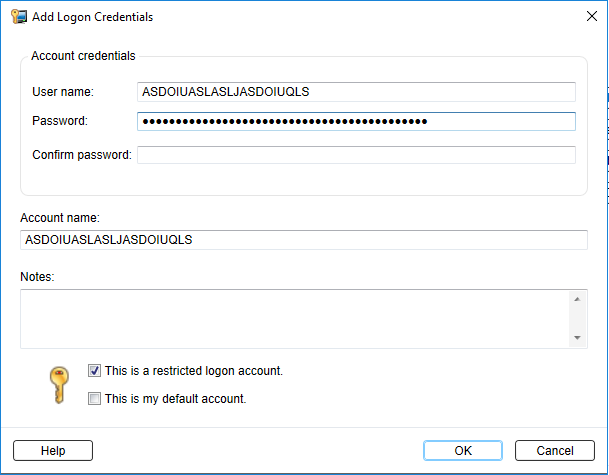
If you haven't configured the account to the Safespring Storage service yet, press Add and you will be presented with the following dialogue. Fill in your account credentials and press OK. When both dropdown in the Cloud storage dialogue is filled in press Next.
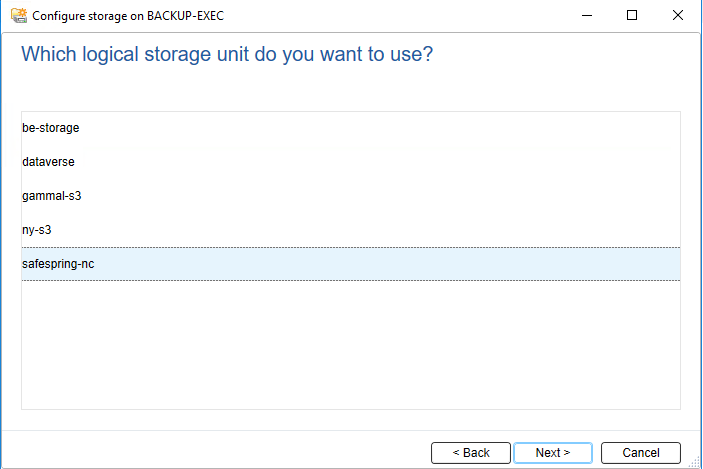
5. Pick a bucket
Now it is time to pick a bucket where your backups should end up. If you haven't created a bucket for that yet - use the CloudBerry S3 Explorer to do that. Press "Next".
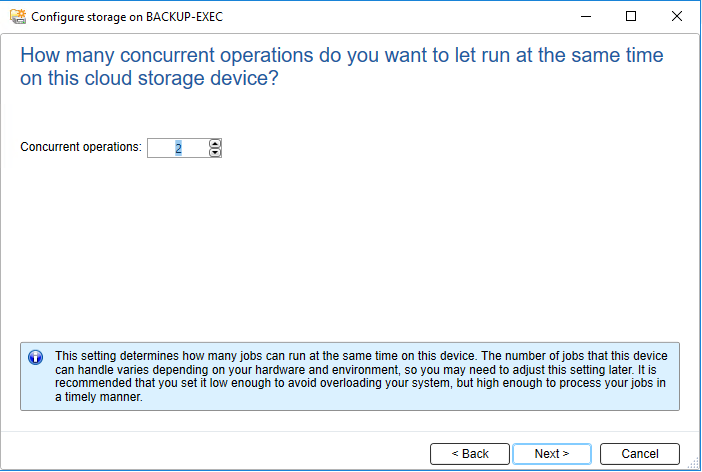
6. Choose number of concurrent operations
Here you configure how many concurrent operations that should be allowed to this cloud storage. Depending on your needs (if you know that you will have to run multiple backup jobs simultaneously to the cloud storage set a suitable number here. If you start with 4 you know that you will be able to run 4 concurrent sessions to this specific cloud storage. If you get errors in the reports, you can try and decrease this number for debugging purposes.
7. Success
You now have configured Backup Exec to work with Safespring Storage.