Kubernetes Dashboard
Whilst most of the interaction with the newly provided cluster can be done through the kubectl command line tool, you can also use graphical user interfaces such as Headlamp.
Headlamp
Headlamp can be run as a desktop application as well as in-cluster. Some of the main advantages of using Headlamp include a plugin system with the option to customize with your own brand and theme.
Desktop Application
To get started with Headlamp for desktop follow the Desktop App installation instructions.
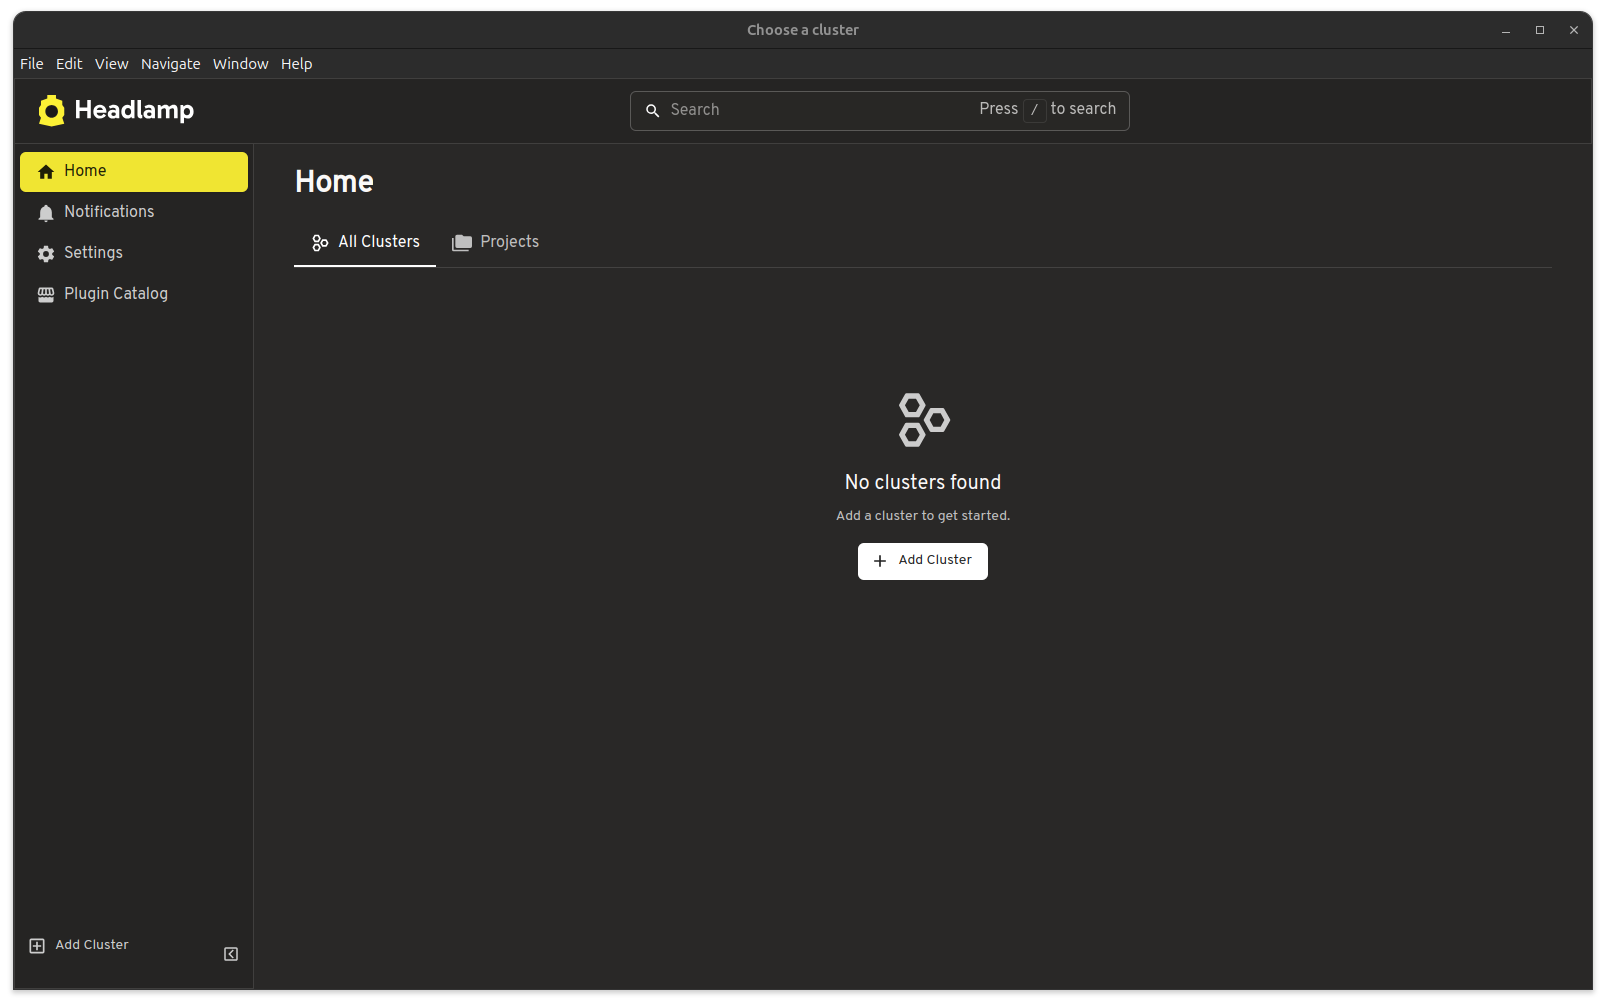
To add a cluster:
- Add Cluster
- Load from KubeConfig, where we need to add the kubeconfig obtained from the portal
- Finalize adding the cluster
- You will be redirected to login
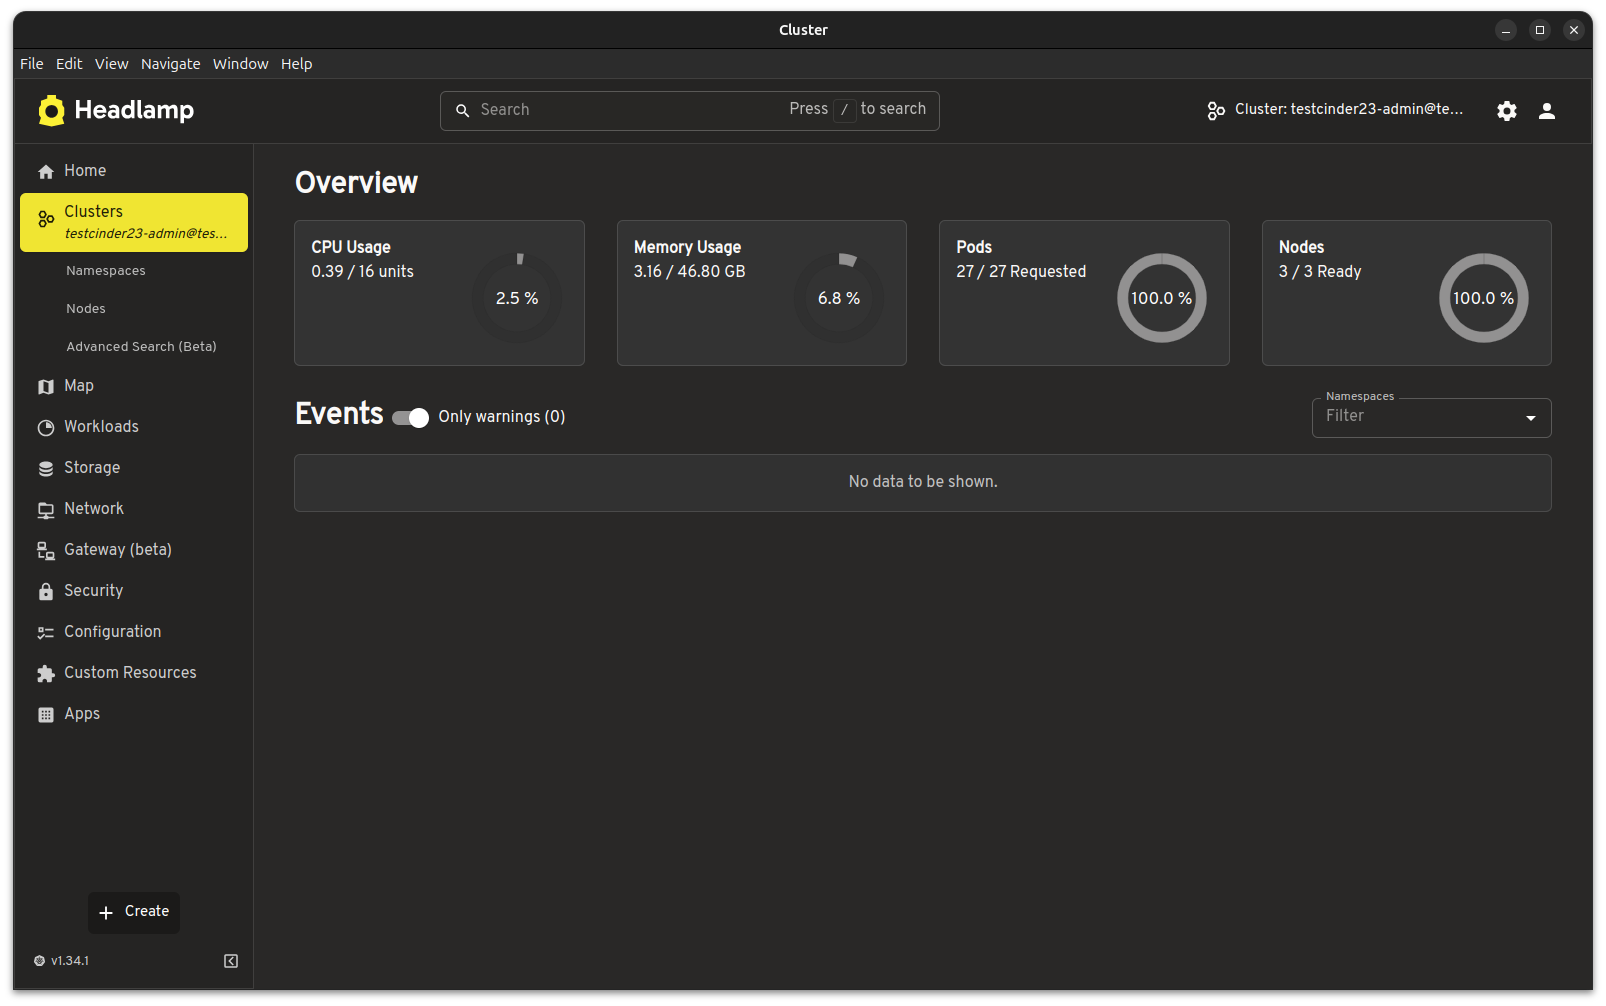
- Access the cluster resources and browse available resources
In-cluster Install
Make sure kubeconfig is obtained from the portal and active in current shell via KUBECONFIG environment variable or specified via --kubeconfig flag for helm and kubectl command line tools.
1. Add the Headlamp Helm Repository
First, add the official Headlamp Helm repository:
helm repo add headlamp https://kubernetes-sigs.github.io/headlamp/
Update your Helm repositories to ensure you have the latest charts:
helm repo update
2. Install Headlamp
Install Headlamp in the kube-system namespace:
helm install my-headlamp headlamp/headlamp --namespace kube-system
3. Create Service Account Token
kubectl create token my-headlamp --namespace kube-system
4. Port Forwarding (Quick Access)
Public Access
Ensure appropriate traffic management is configured when exposing cluster services.
For immediate access without setting up ingress and using port forwarding access:
kubectl port-forward -n kube-system service/my-headlamp 8080:80
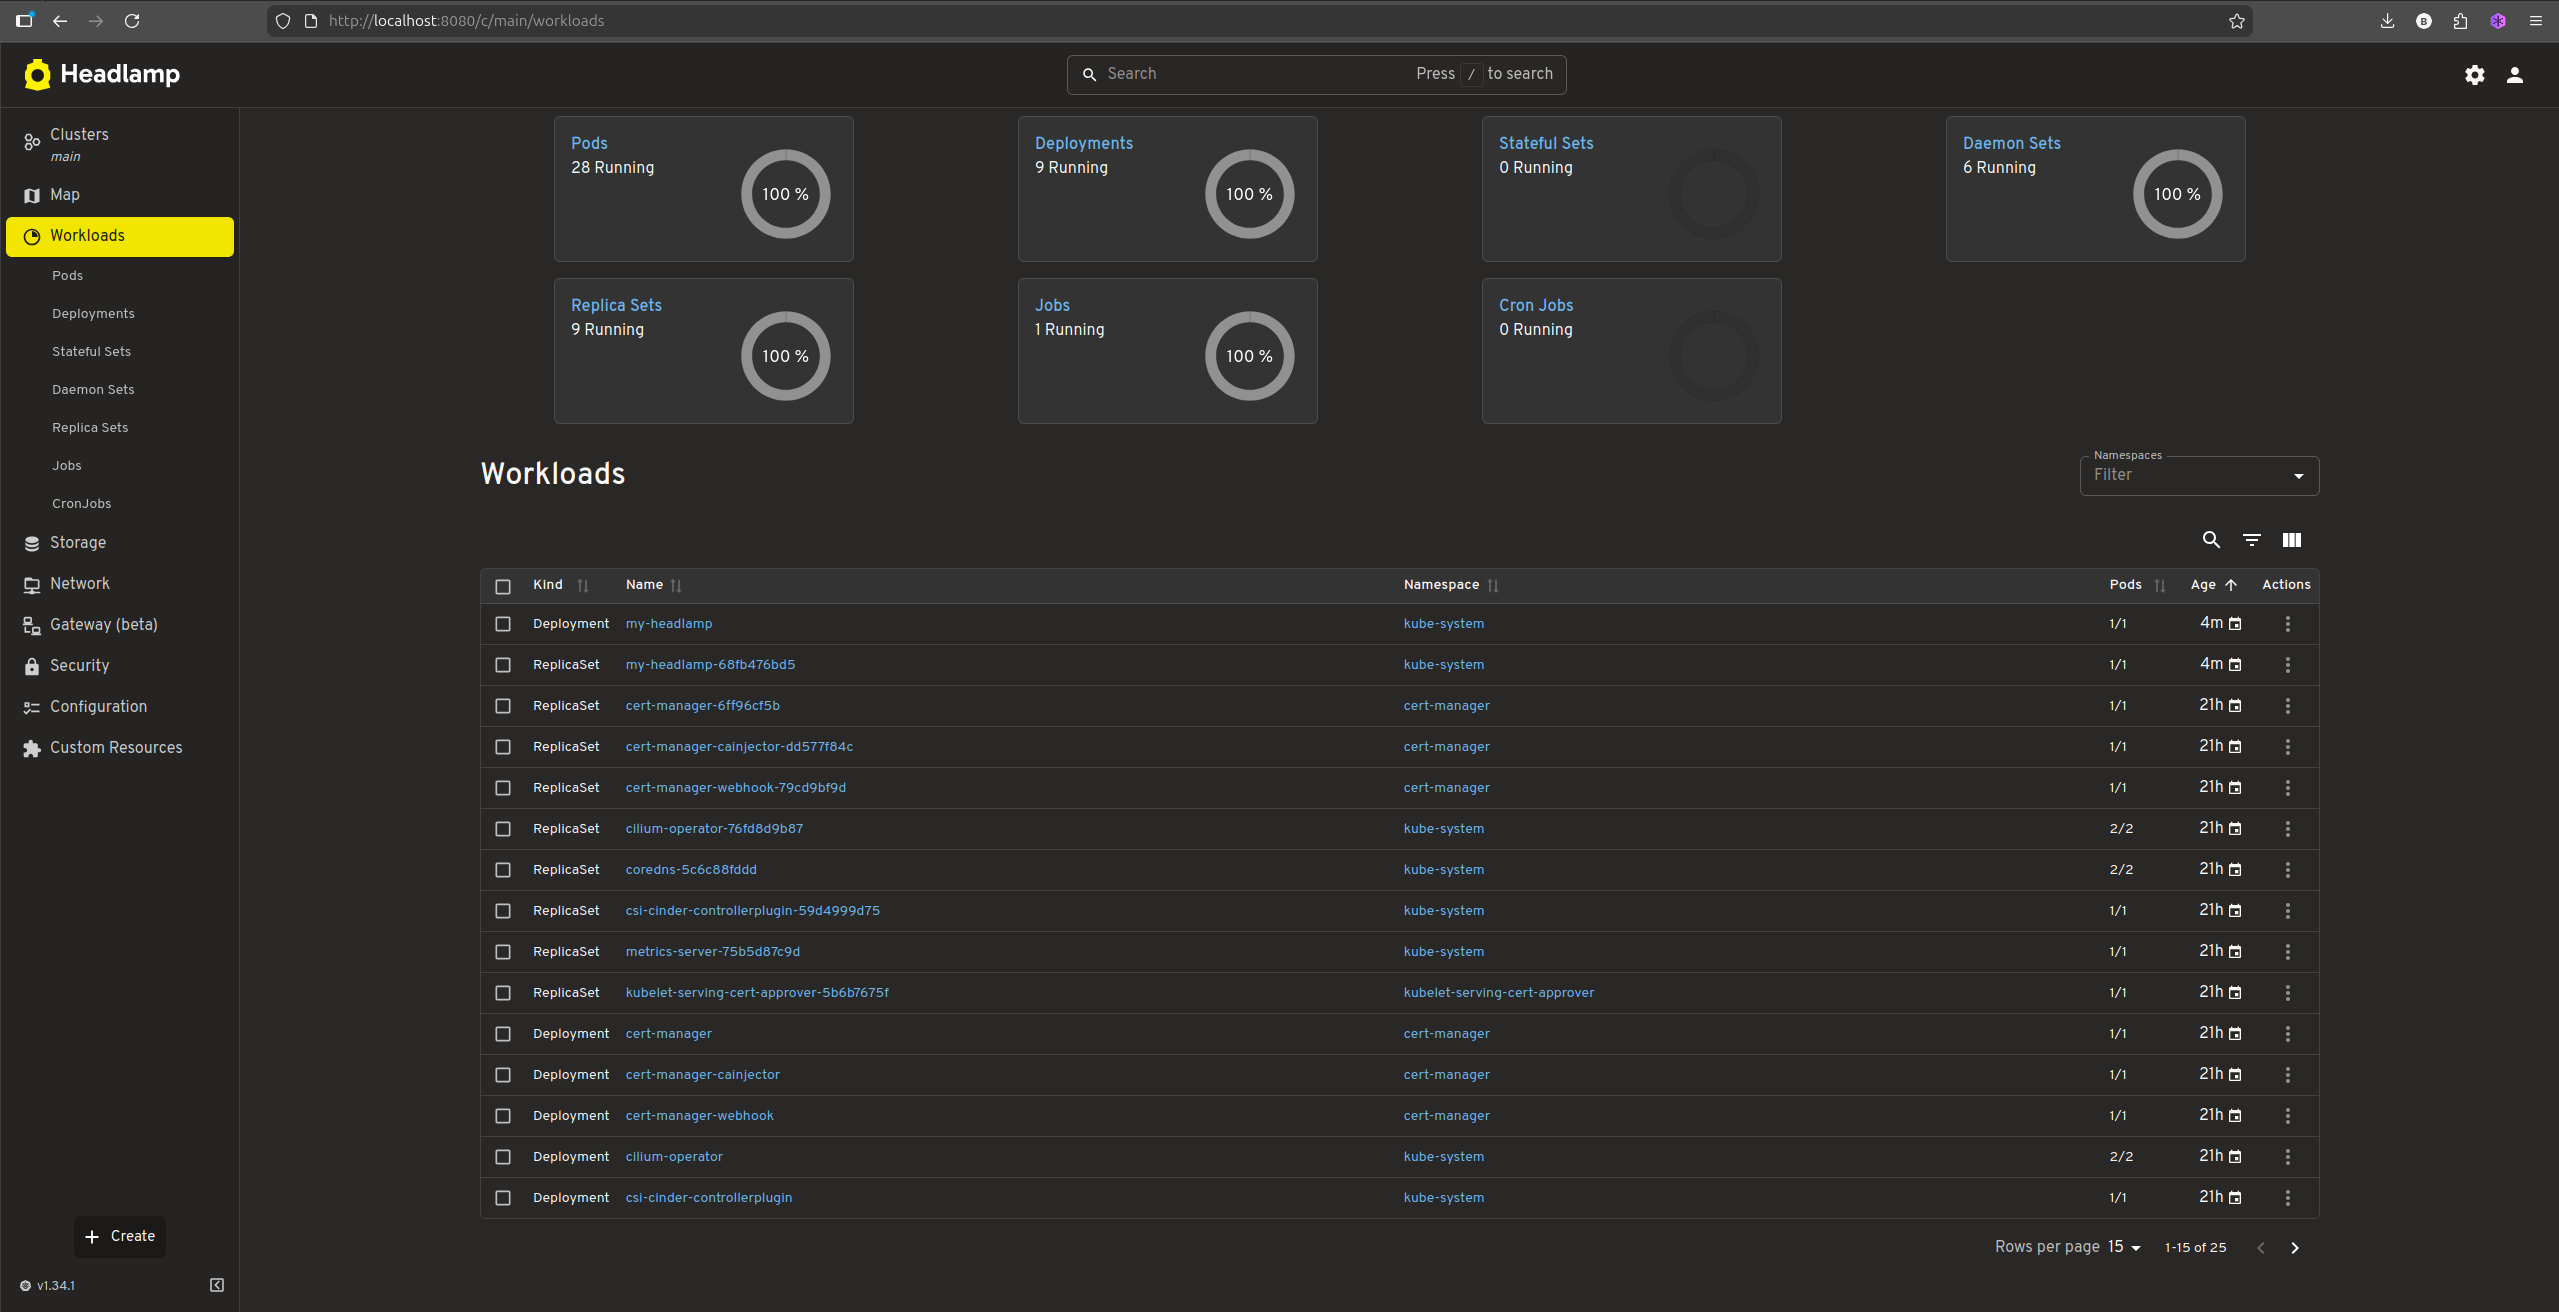
Then access Headlamp at http://localhost:8080 and use the token created at step 3 to access the UI.